Raspberry Pi Synthesizer

Written in January 2024
Background
When I was a kid, my family had a Casio keyboard set up in our TV room. It was great to sit down at and play - for hours at a time, or even just a few minutes while waiting to go somewhere. Press the power button, play, and turn it back off. It wasn’t loud like our real piano, and you could even plug in headphones if people were asleep.
After moving out, even though I own MIDI keyboards, I found I play drastically less. My skills have lapsed, and its starting to bum me out. And part of the problem, I think, is that I need to sit down at a computer and open up a DAW to play even for 30 seconds. And inevitably, I get distracted by other stuff on the computer, or the difficulty of picking a synth tone, or simply don’t want to clear space on my desk to play. I really need something that is always set up to make it easy enough to practice.
The Idea
The concept is simple. A lightweight and easy to move electric keyboard. I could buy a cheap casio at a thrift shop for $50, but I think we can do something more interesting.
First Try
In 2019, while living in a dorm on a military base for 3 months, I critically needed to play an instrument. I bought a KORG Microkey 37, one of the smallest and lightest keyboards availible, and plugged it into a raspberry pi. I found what would become my favorite synth engine - SunVox and got the settings dialed in so that it was great to use.
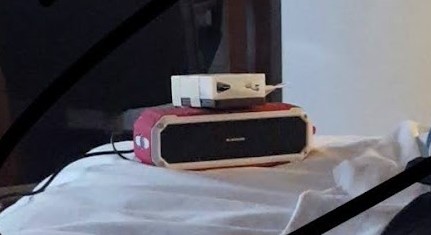
You can see the phone charger battery taped to the raspberry pi in the white case here. I later integrated this lipo battery in a 3D printed case to make it self-contained. To use it, you power on the device, connect to a speaker with an audio cable, connect to the broadcast wifi network with your phone, SSH into the pi, and start the synthesizer.
I have no pictures of this device. I thought I took one right before disassembling it and throwing it out, but I can’t find them.
Needless to say, this was convoluted. There was always a mess of wires, it was annoying to connect to the wifi, your speaker could be dead (and then you’d have to charge that too) and overall it wasn’t a great experience. I ended up not using it that much.
Second Try
I came back to this project and decided to look again at the requirements.
- Speakers built in (no hunting for a separate one)
- Keep the RPI happy:
- Adequate power supply (no undervolting)
- Active cooling (fans)
- 1/8th AND 1/4th audio jack out (connect to amps and pedals!)
- Screen and input built in
- Good audio quality (external audio card)
Looking at these, I realized that I didn’t really care about being battery powered. A stationary place in my apartment would have wall power, and anywhere I was jamming with other people would have wall power too.
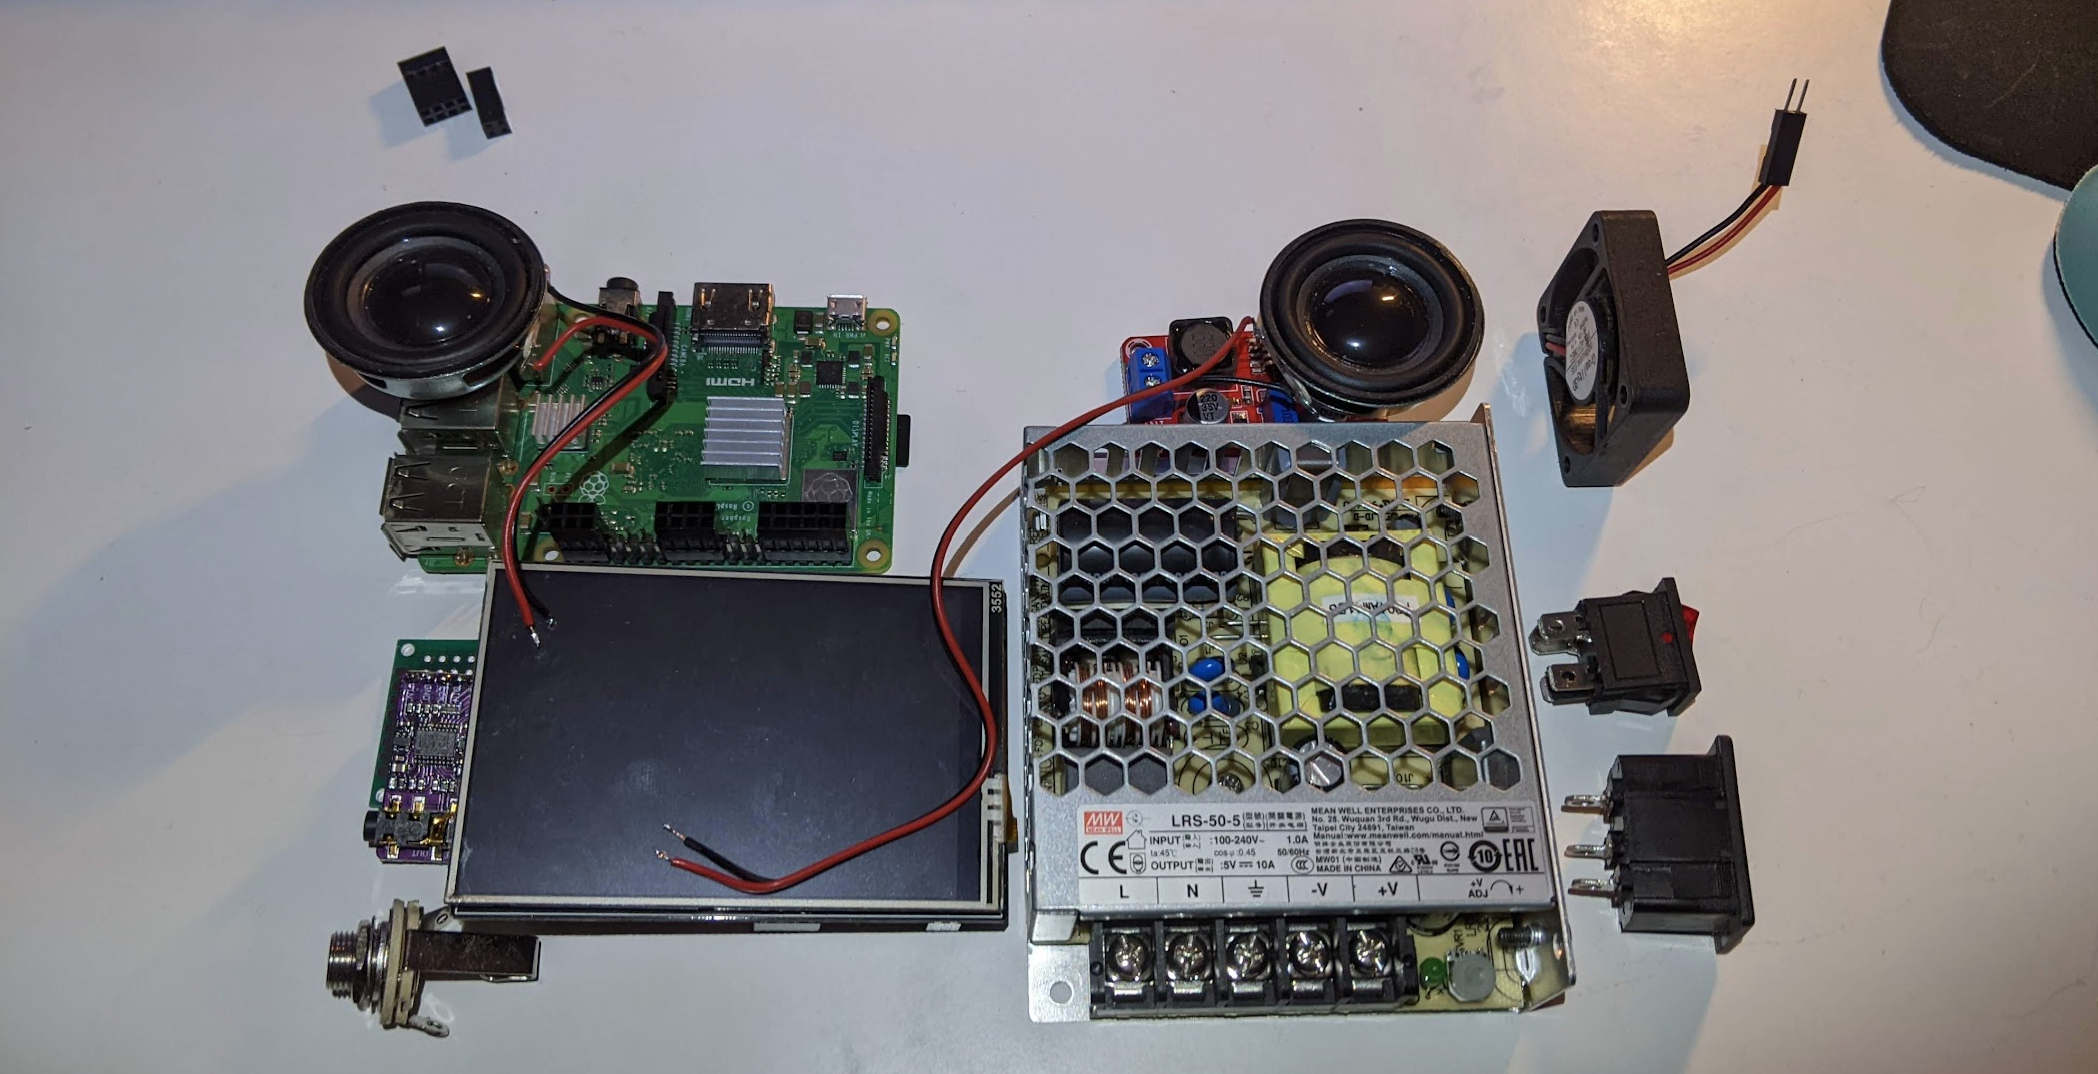
So, I sorted out the parts. I had some stuff lying around (the pi, the speakers, the audio connectors) and bought other stuff. This is what I used:
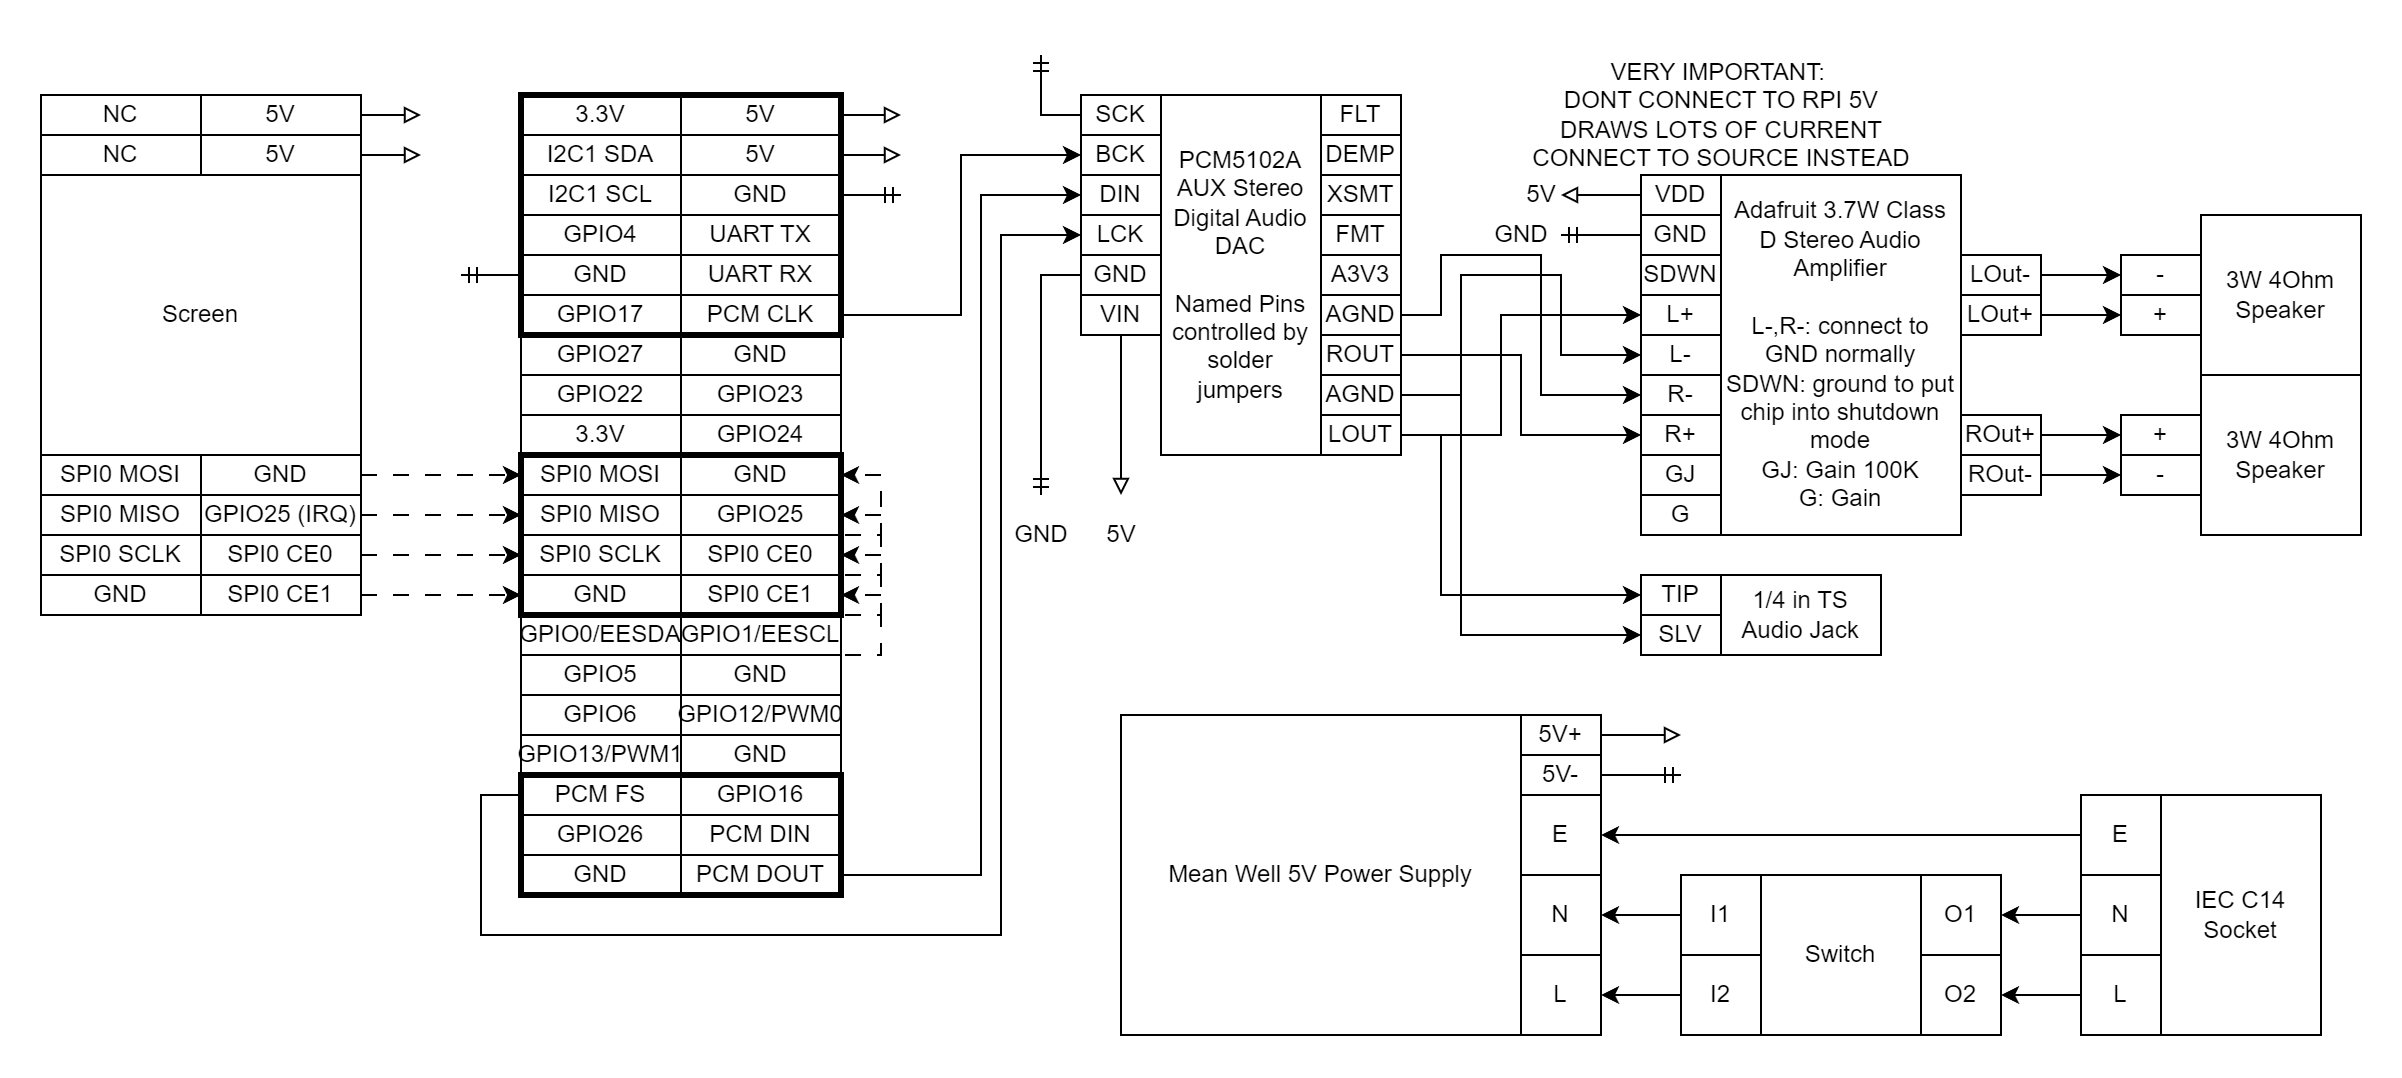
- Raspberry Pi 3B+
- MeanWell 5V 50W power supply
- Adafruit 3.7W Class D Stereo Audio Amplifier
- 3W 40 Ohm Speaker (x2)
- PCM5102A Aux Stereo Digital Audio DAC
- Kedei 3.5” TFT SPI Display v6.2 (Note: DO NOT BUY THIS!!!! Read more later)
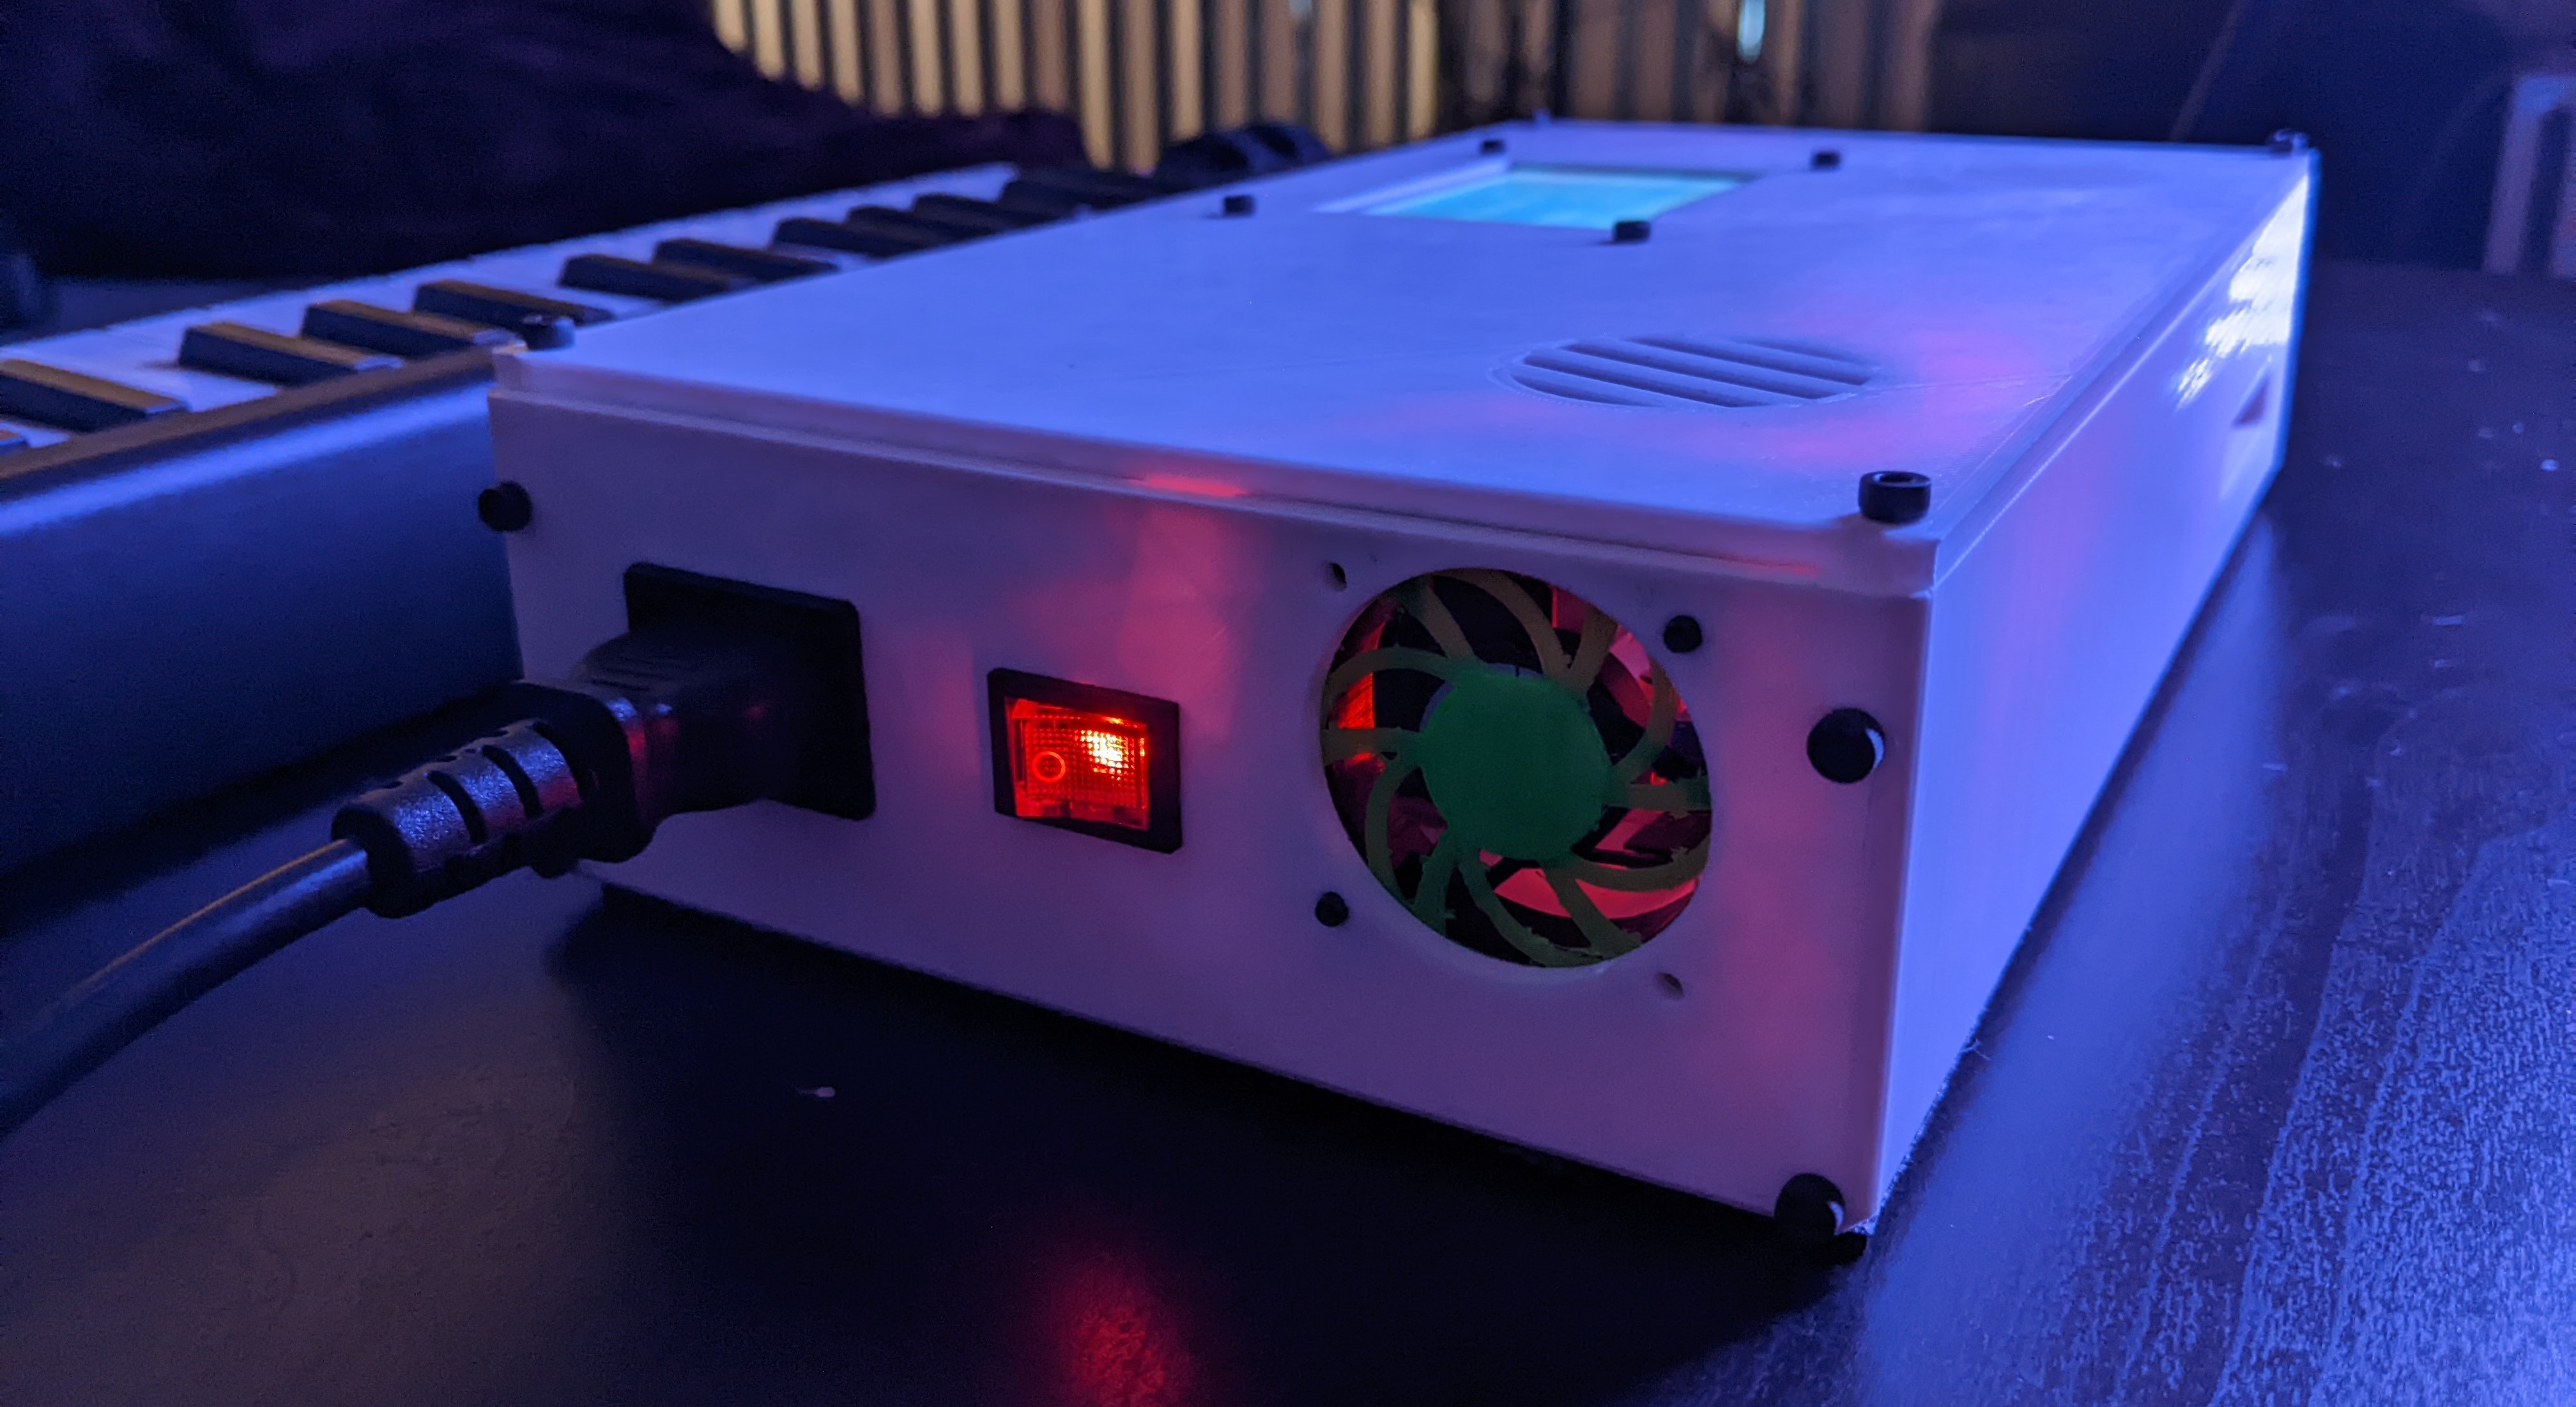
- 120V Mini Rocker Switch (With Light)
- IEC C14 Socket
- IEC Power Cable (Like you would use for a desktop PC)
- 1/4 in TS Audio Jack
- 5V to 12V DC step up transformer
- 40mm 12V PC fan
- 3D Printed case
- Assorted M2.5 and M3 Screws and inserts
- The padding from a mousepad as an anti-slip backing
With this, I was sure I would fulfill all my needs in a little box that was still small enough to toss into my cat backpack.
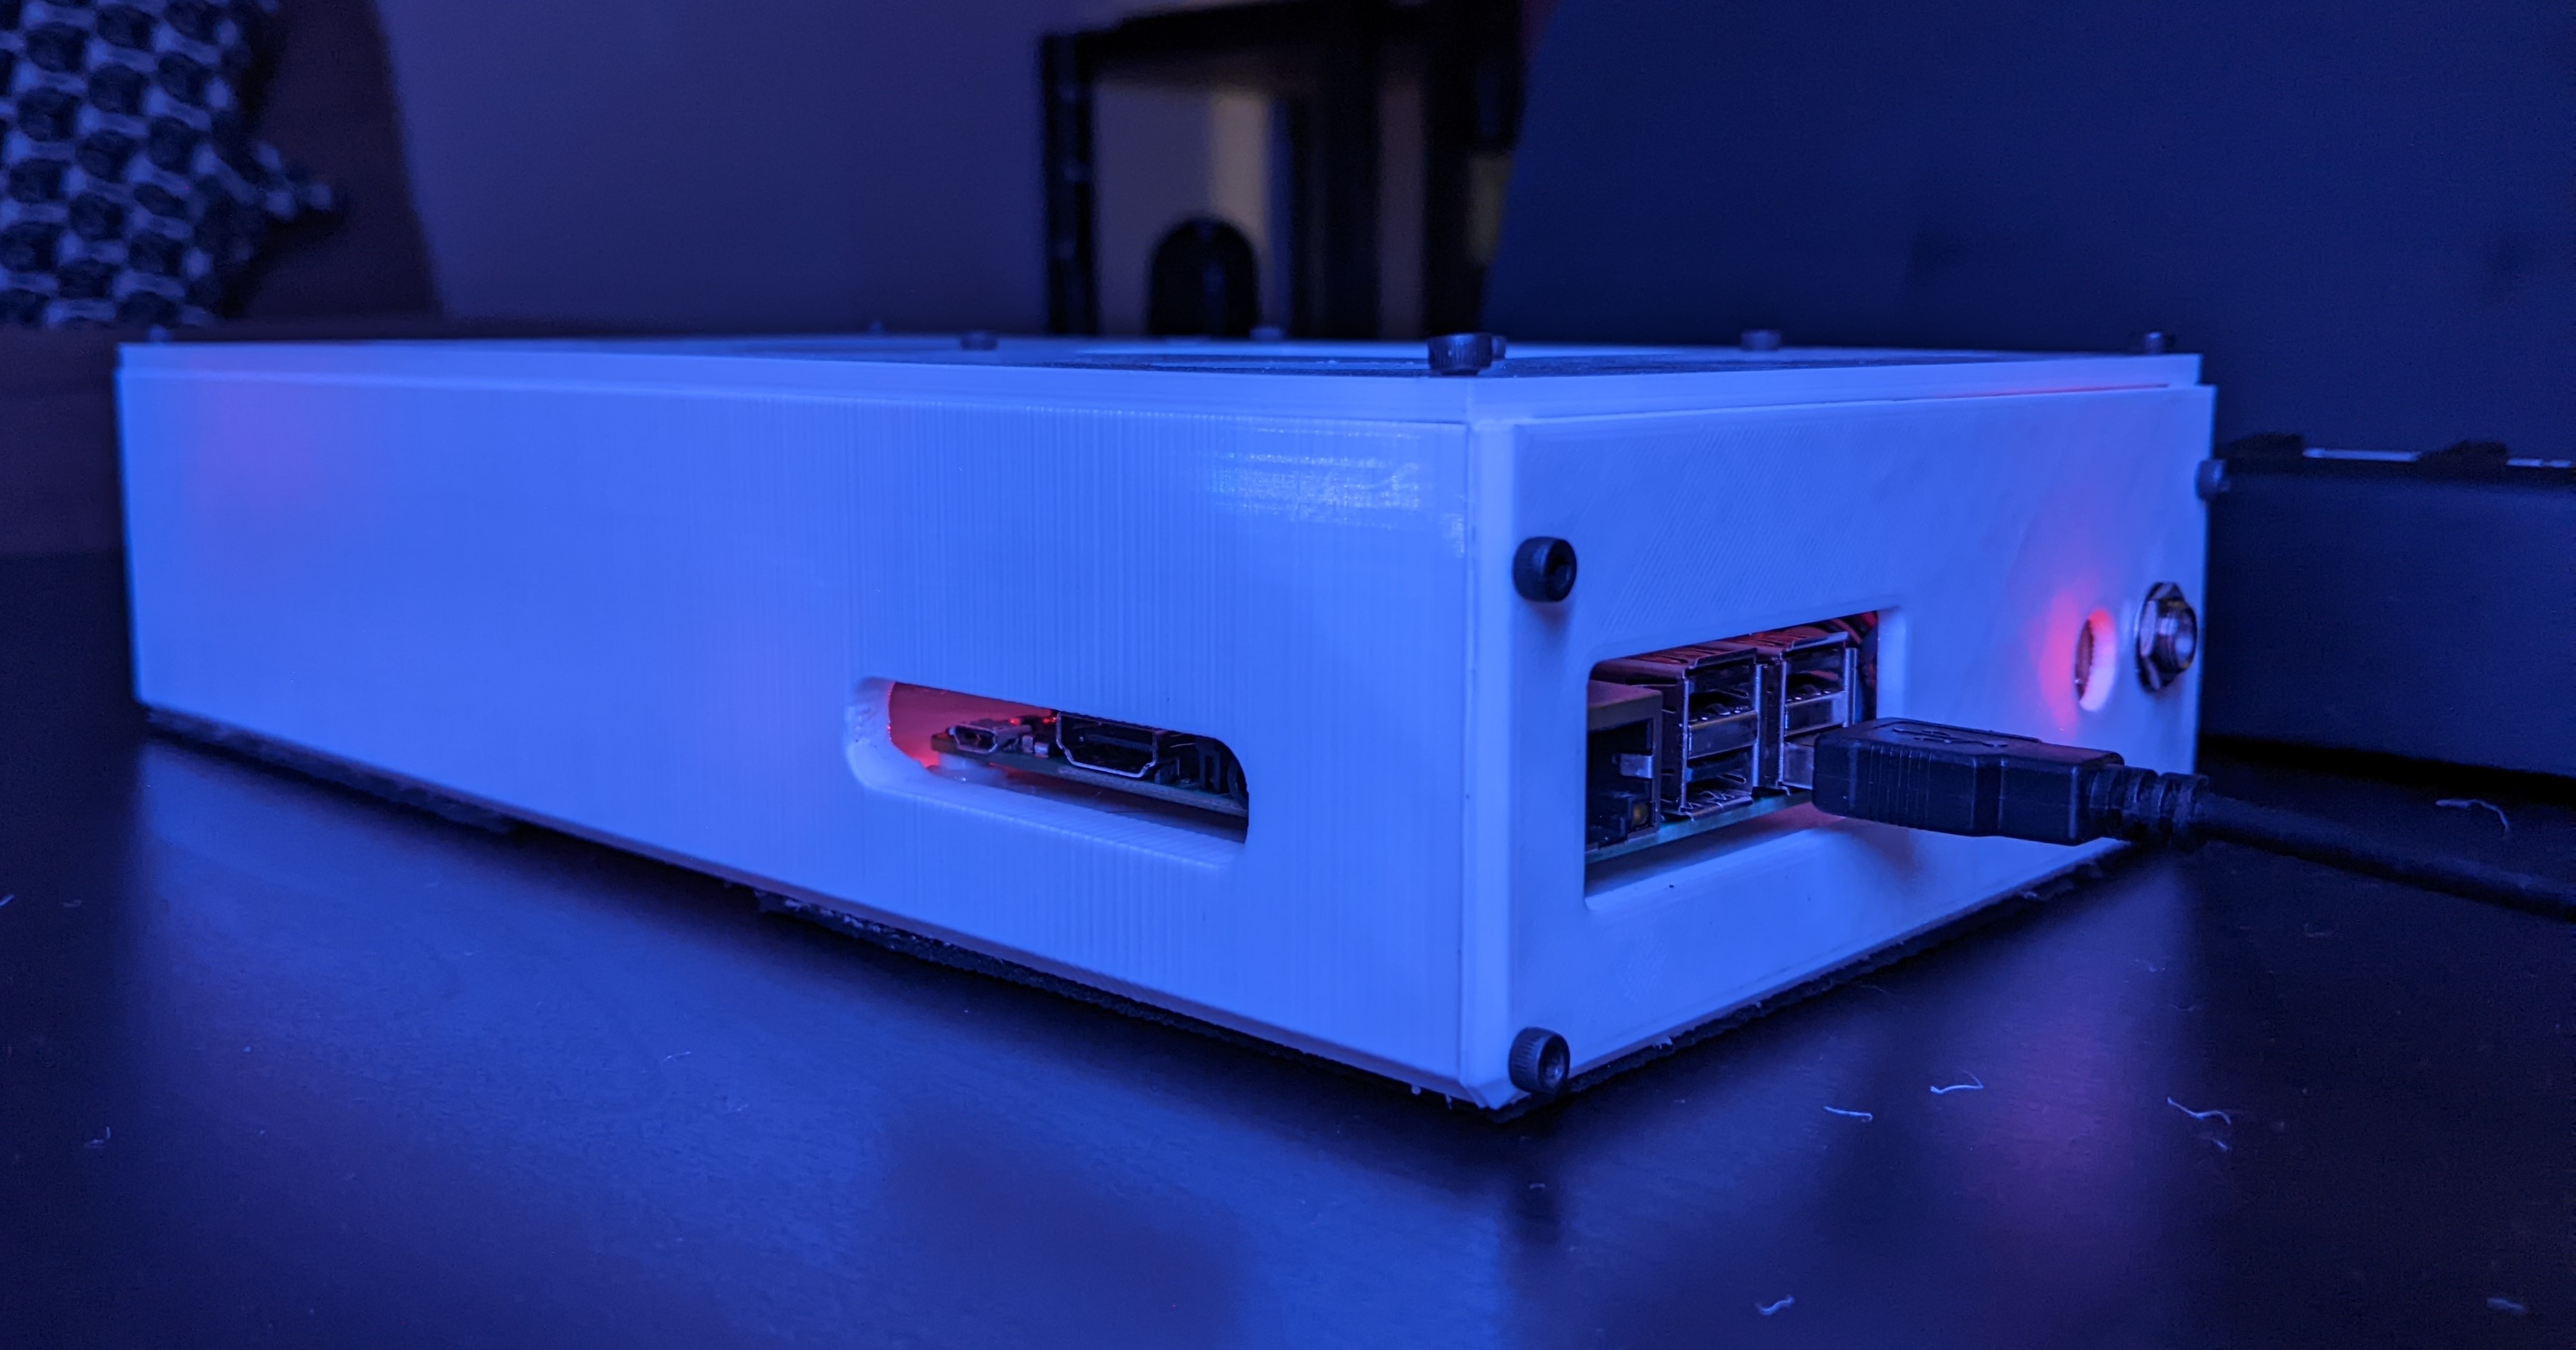
The Execution
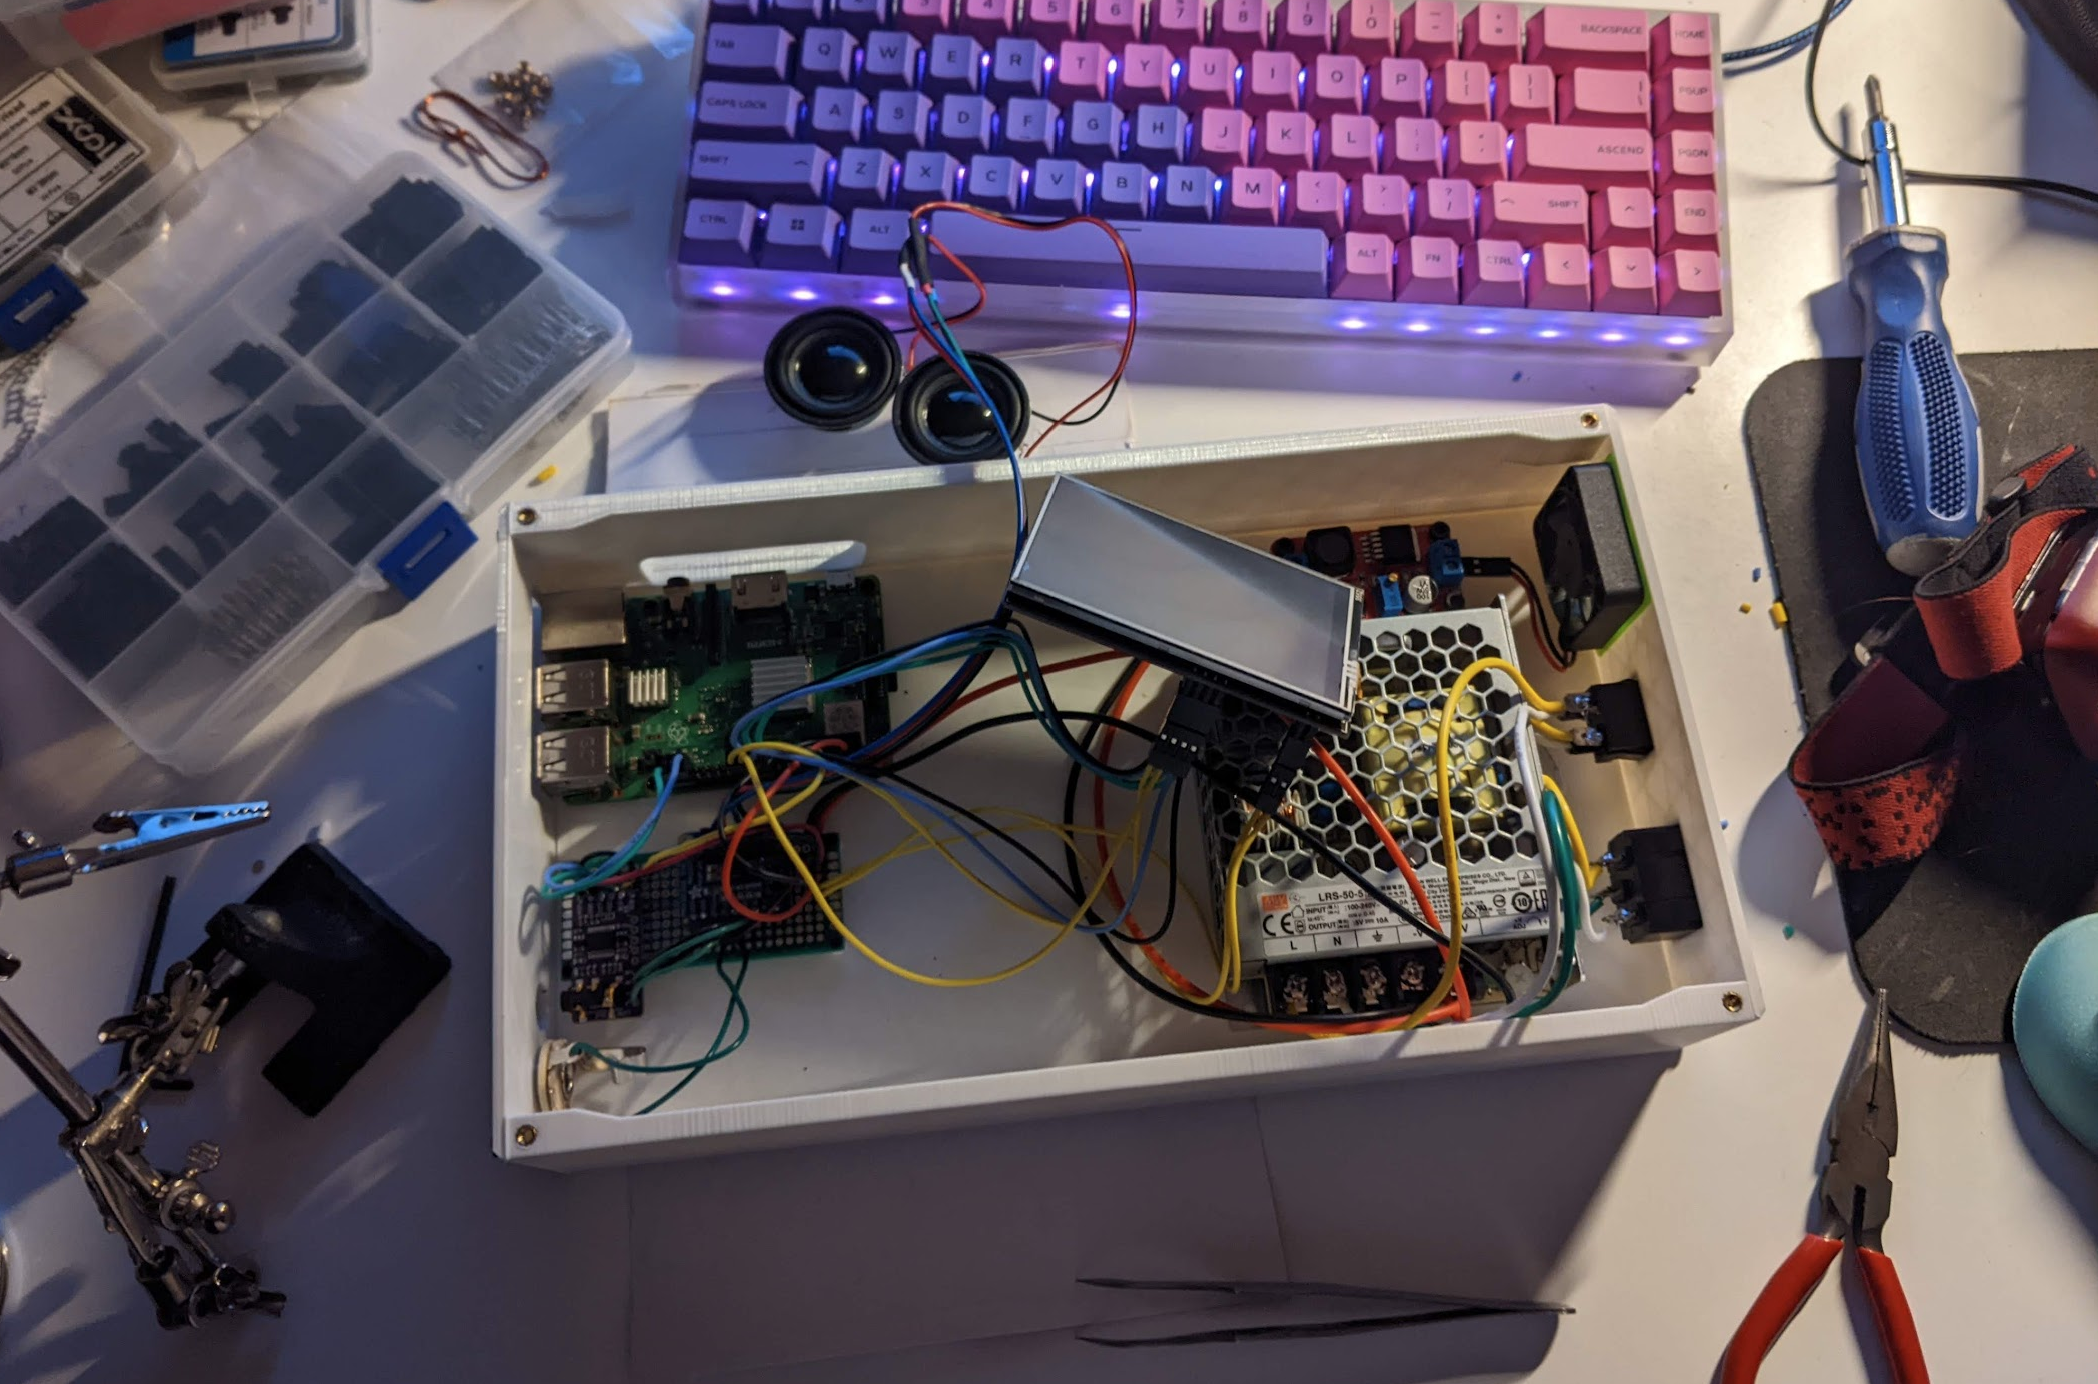
I laid out the components to get a rough idea of the sizes. I decided to do a backplane style that slides into a case, for maximum ease of construction. I also have really been on the trend of making a midplane board that all the real stuff is mounted to, instead of doing careful work integrating the main boards with the outer layers of the case. Sure I lose a little volume, but the time saved is worth it.

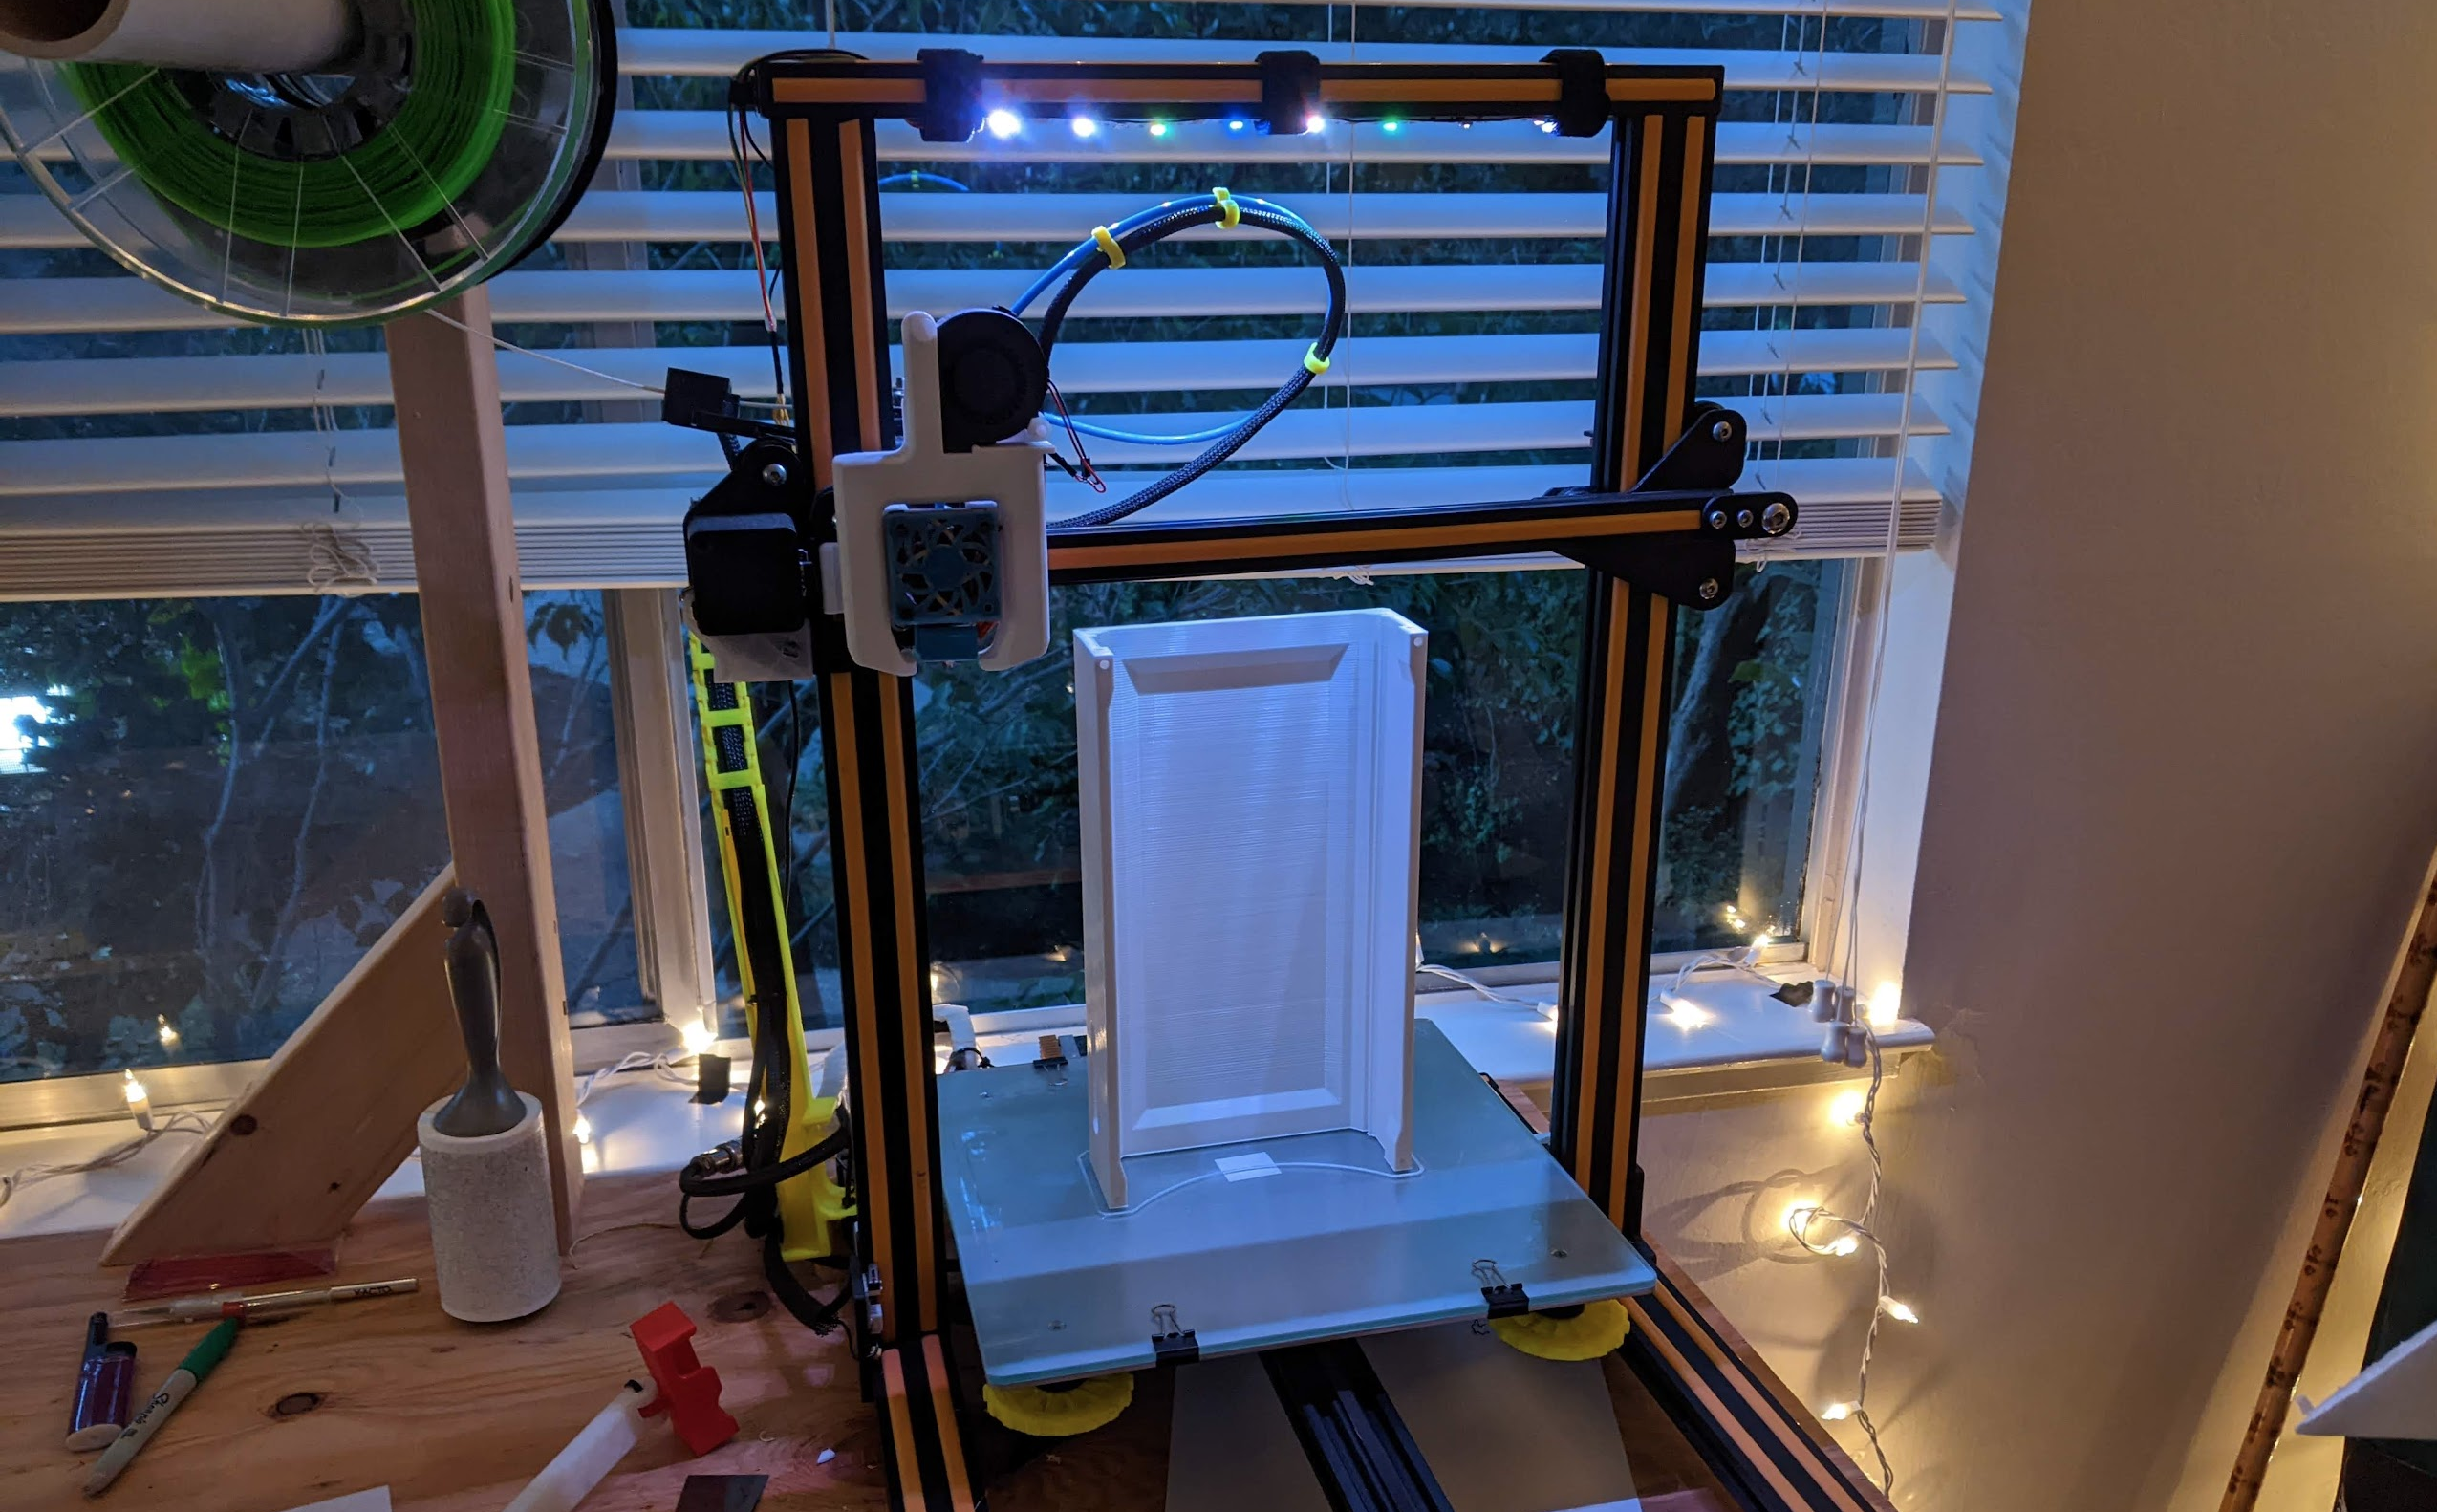
Around this phase of the project I really didn’t want to work on this anymore and wanted to do as little work as possible to finish it. I printed the case which was the longest print I’ve done in a while. Shoutout freecad, again.
The Screen
So the TFT touch screen I had turned out to suck. The drivers were closed source from the manufactuerer, and each version is different - linux’s FBTFT library doesn’t support it, and the drivers are in various different states. I tried many different things, and eventually just ran the manufactuerer’s version. See my notes here. I had to go back to Debain BUSTER to get it to work.
The worst part was when switching the display between HDMI and SPI, it would edit the boot.conf file and break the audio I had set up, and because it was all a closed source script, I can’t edit it. Solution is to run the audio setup script again and rebooting a second time.
The next issue is that sometimes the display gets stuck pure white. Power cycling seems to fix it, but that takes a minute or so. Annoying.
These two issues make me want to use a different kind of screen. A new 7 inch screen would be almost $100 from adfruit, and I don’t want to get that deep in this project. Carrying around a real VGA or HDMI monitor is also a no. So lets see what happens here.
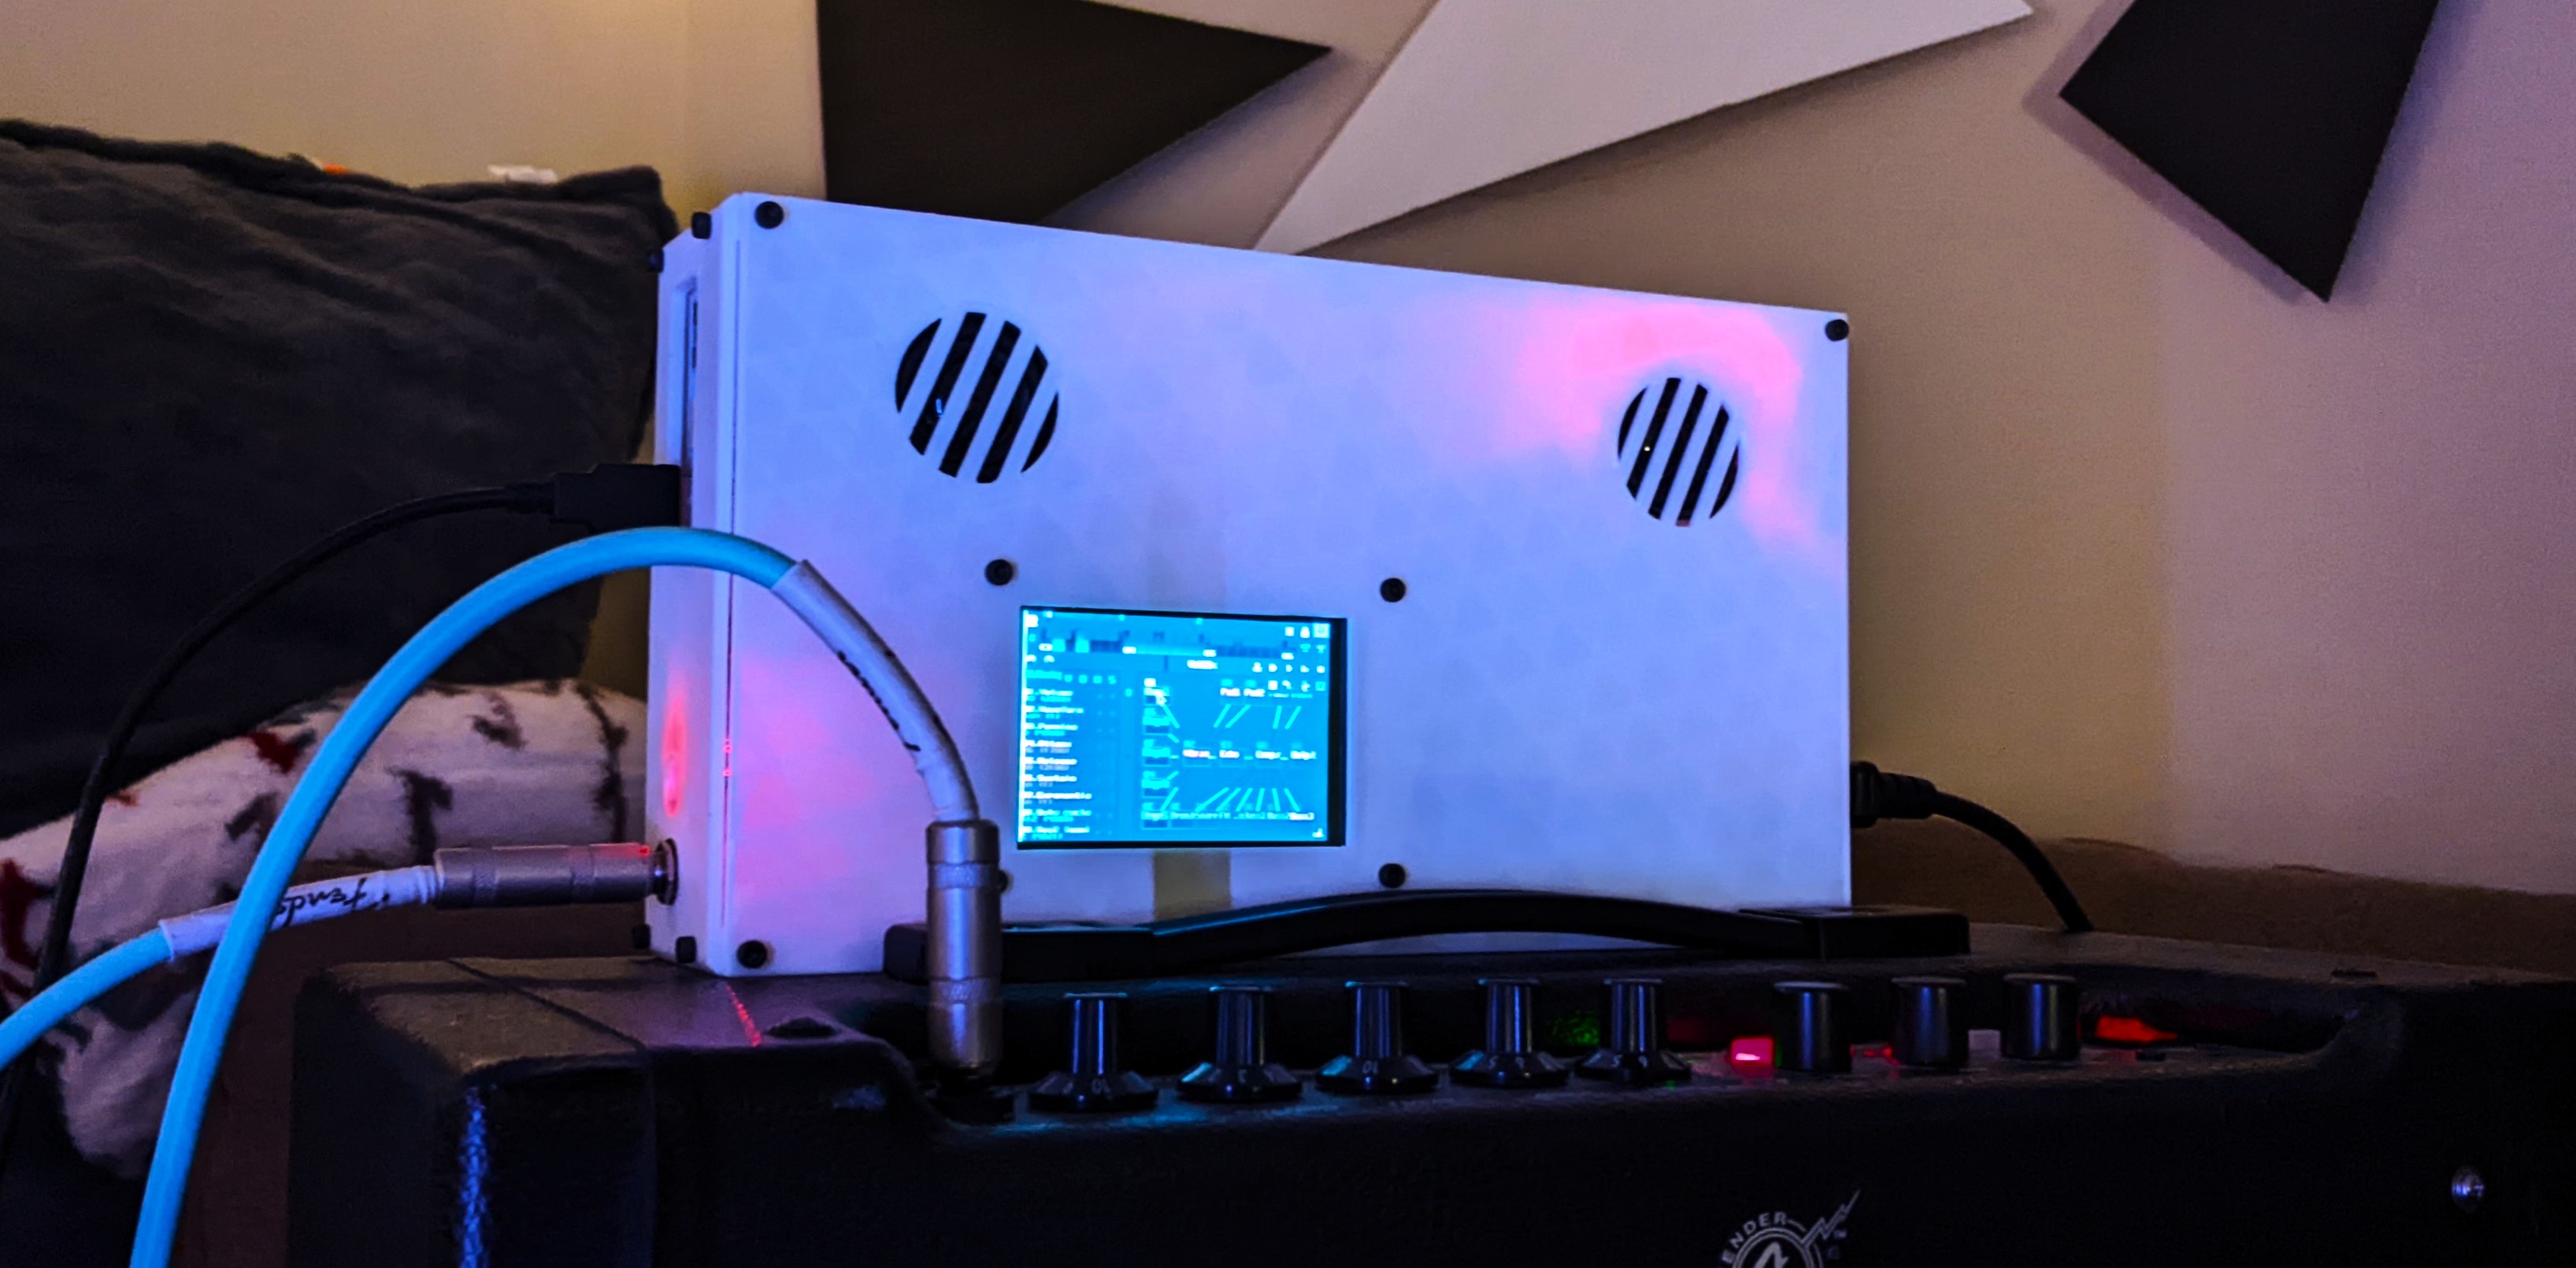
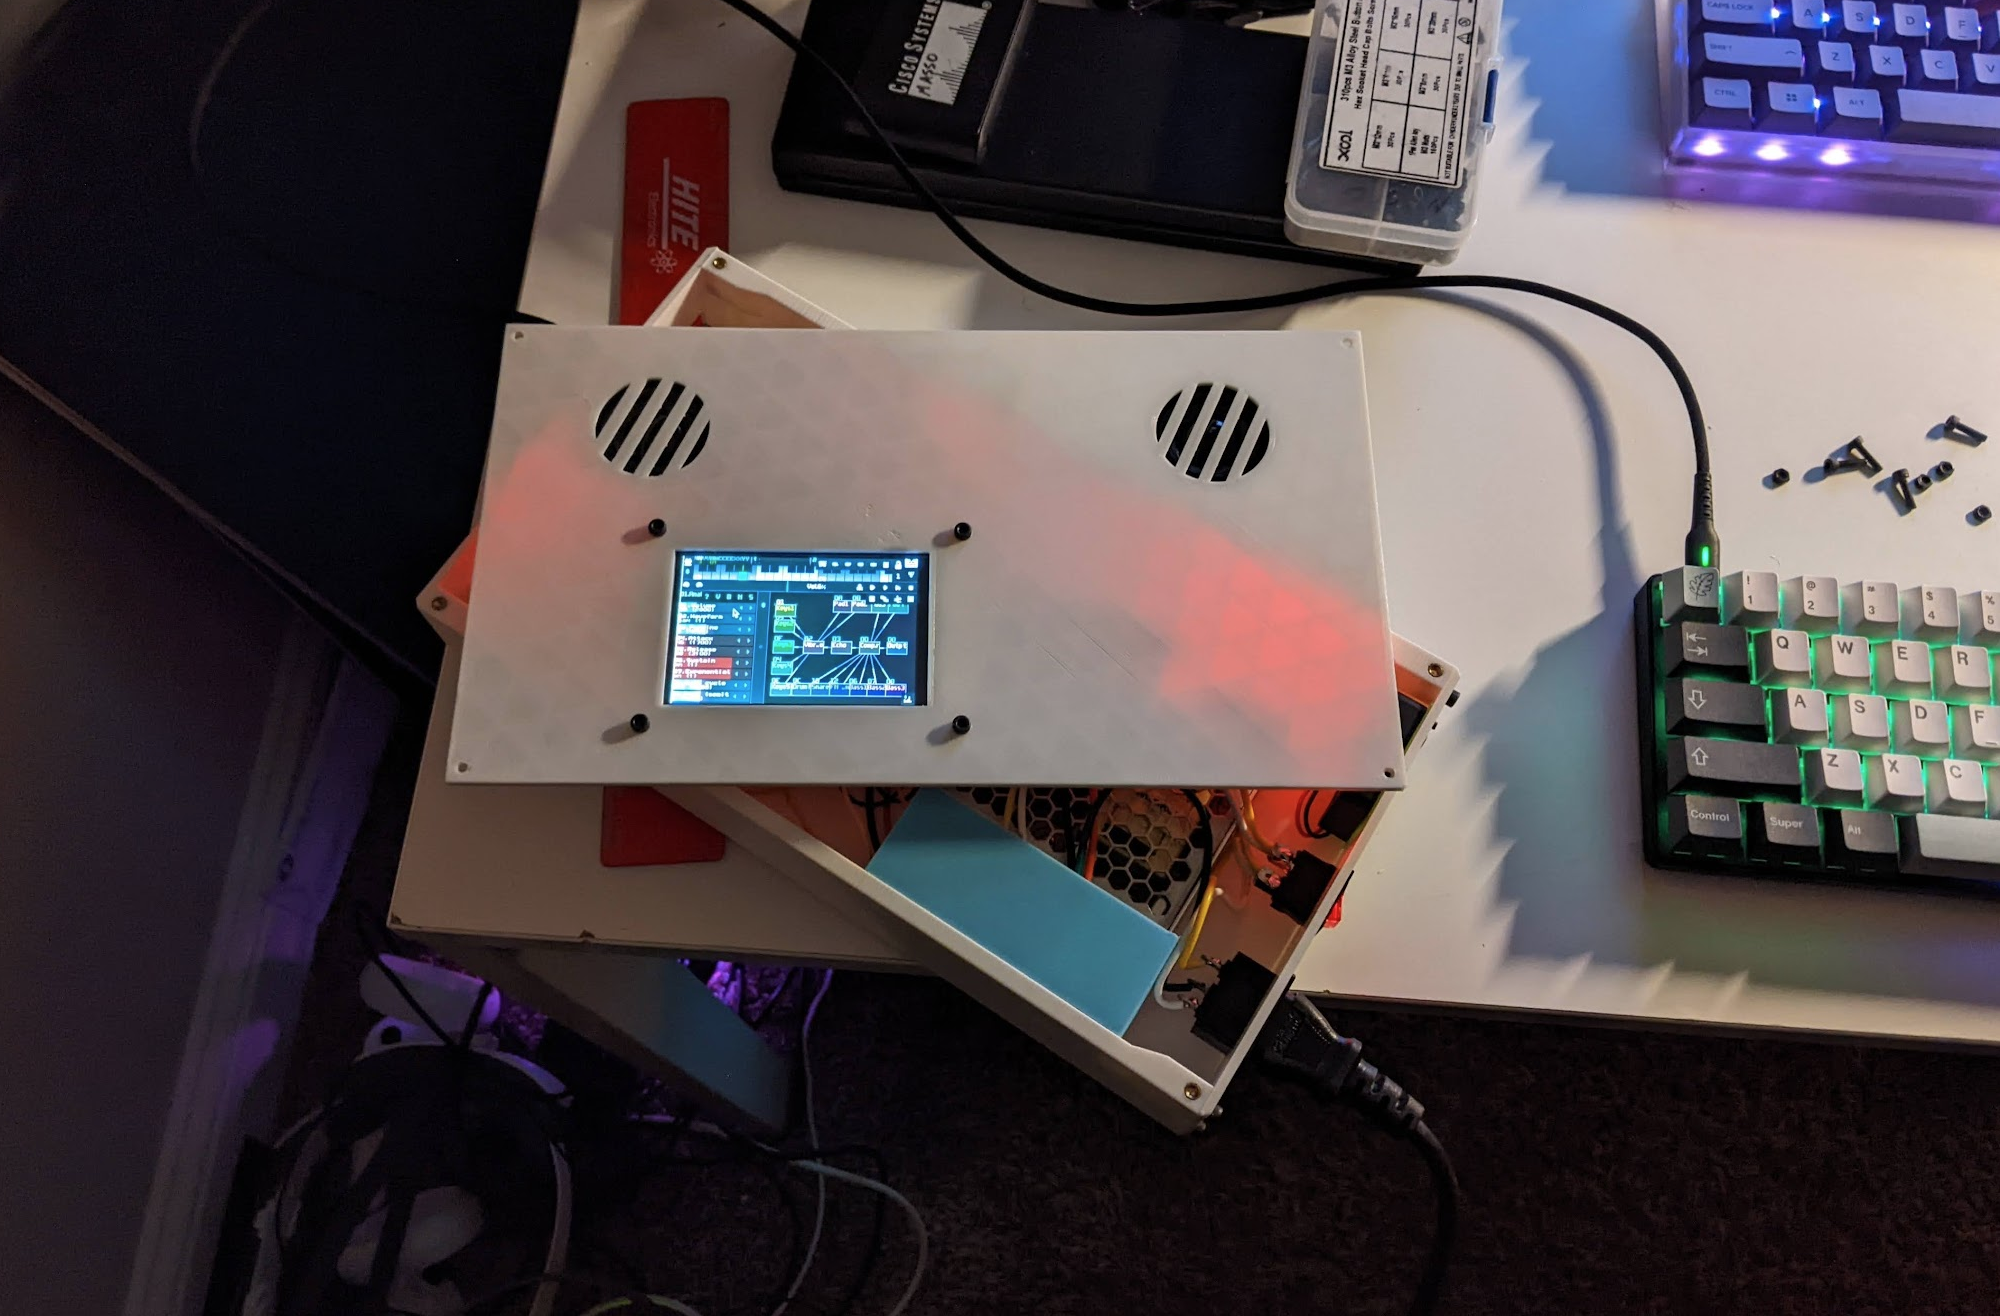
Done
But whatever, I don’t want to work on it anymore. So its done! Last thought, if I were to do this again I would probably just buy an old android phone dirt cheap and slap it in a case with a USB hub. Those things might even support USB audio interfaces, so I could have ins and outs with a focusrite or something. But at that point, I’m just making a really bad tablet, so I should just use the Microsoft Surface I already own. I think this was an appropriate project for the money invested in it.
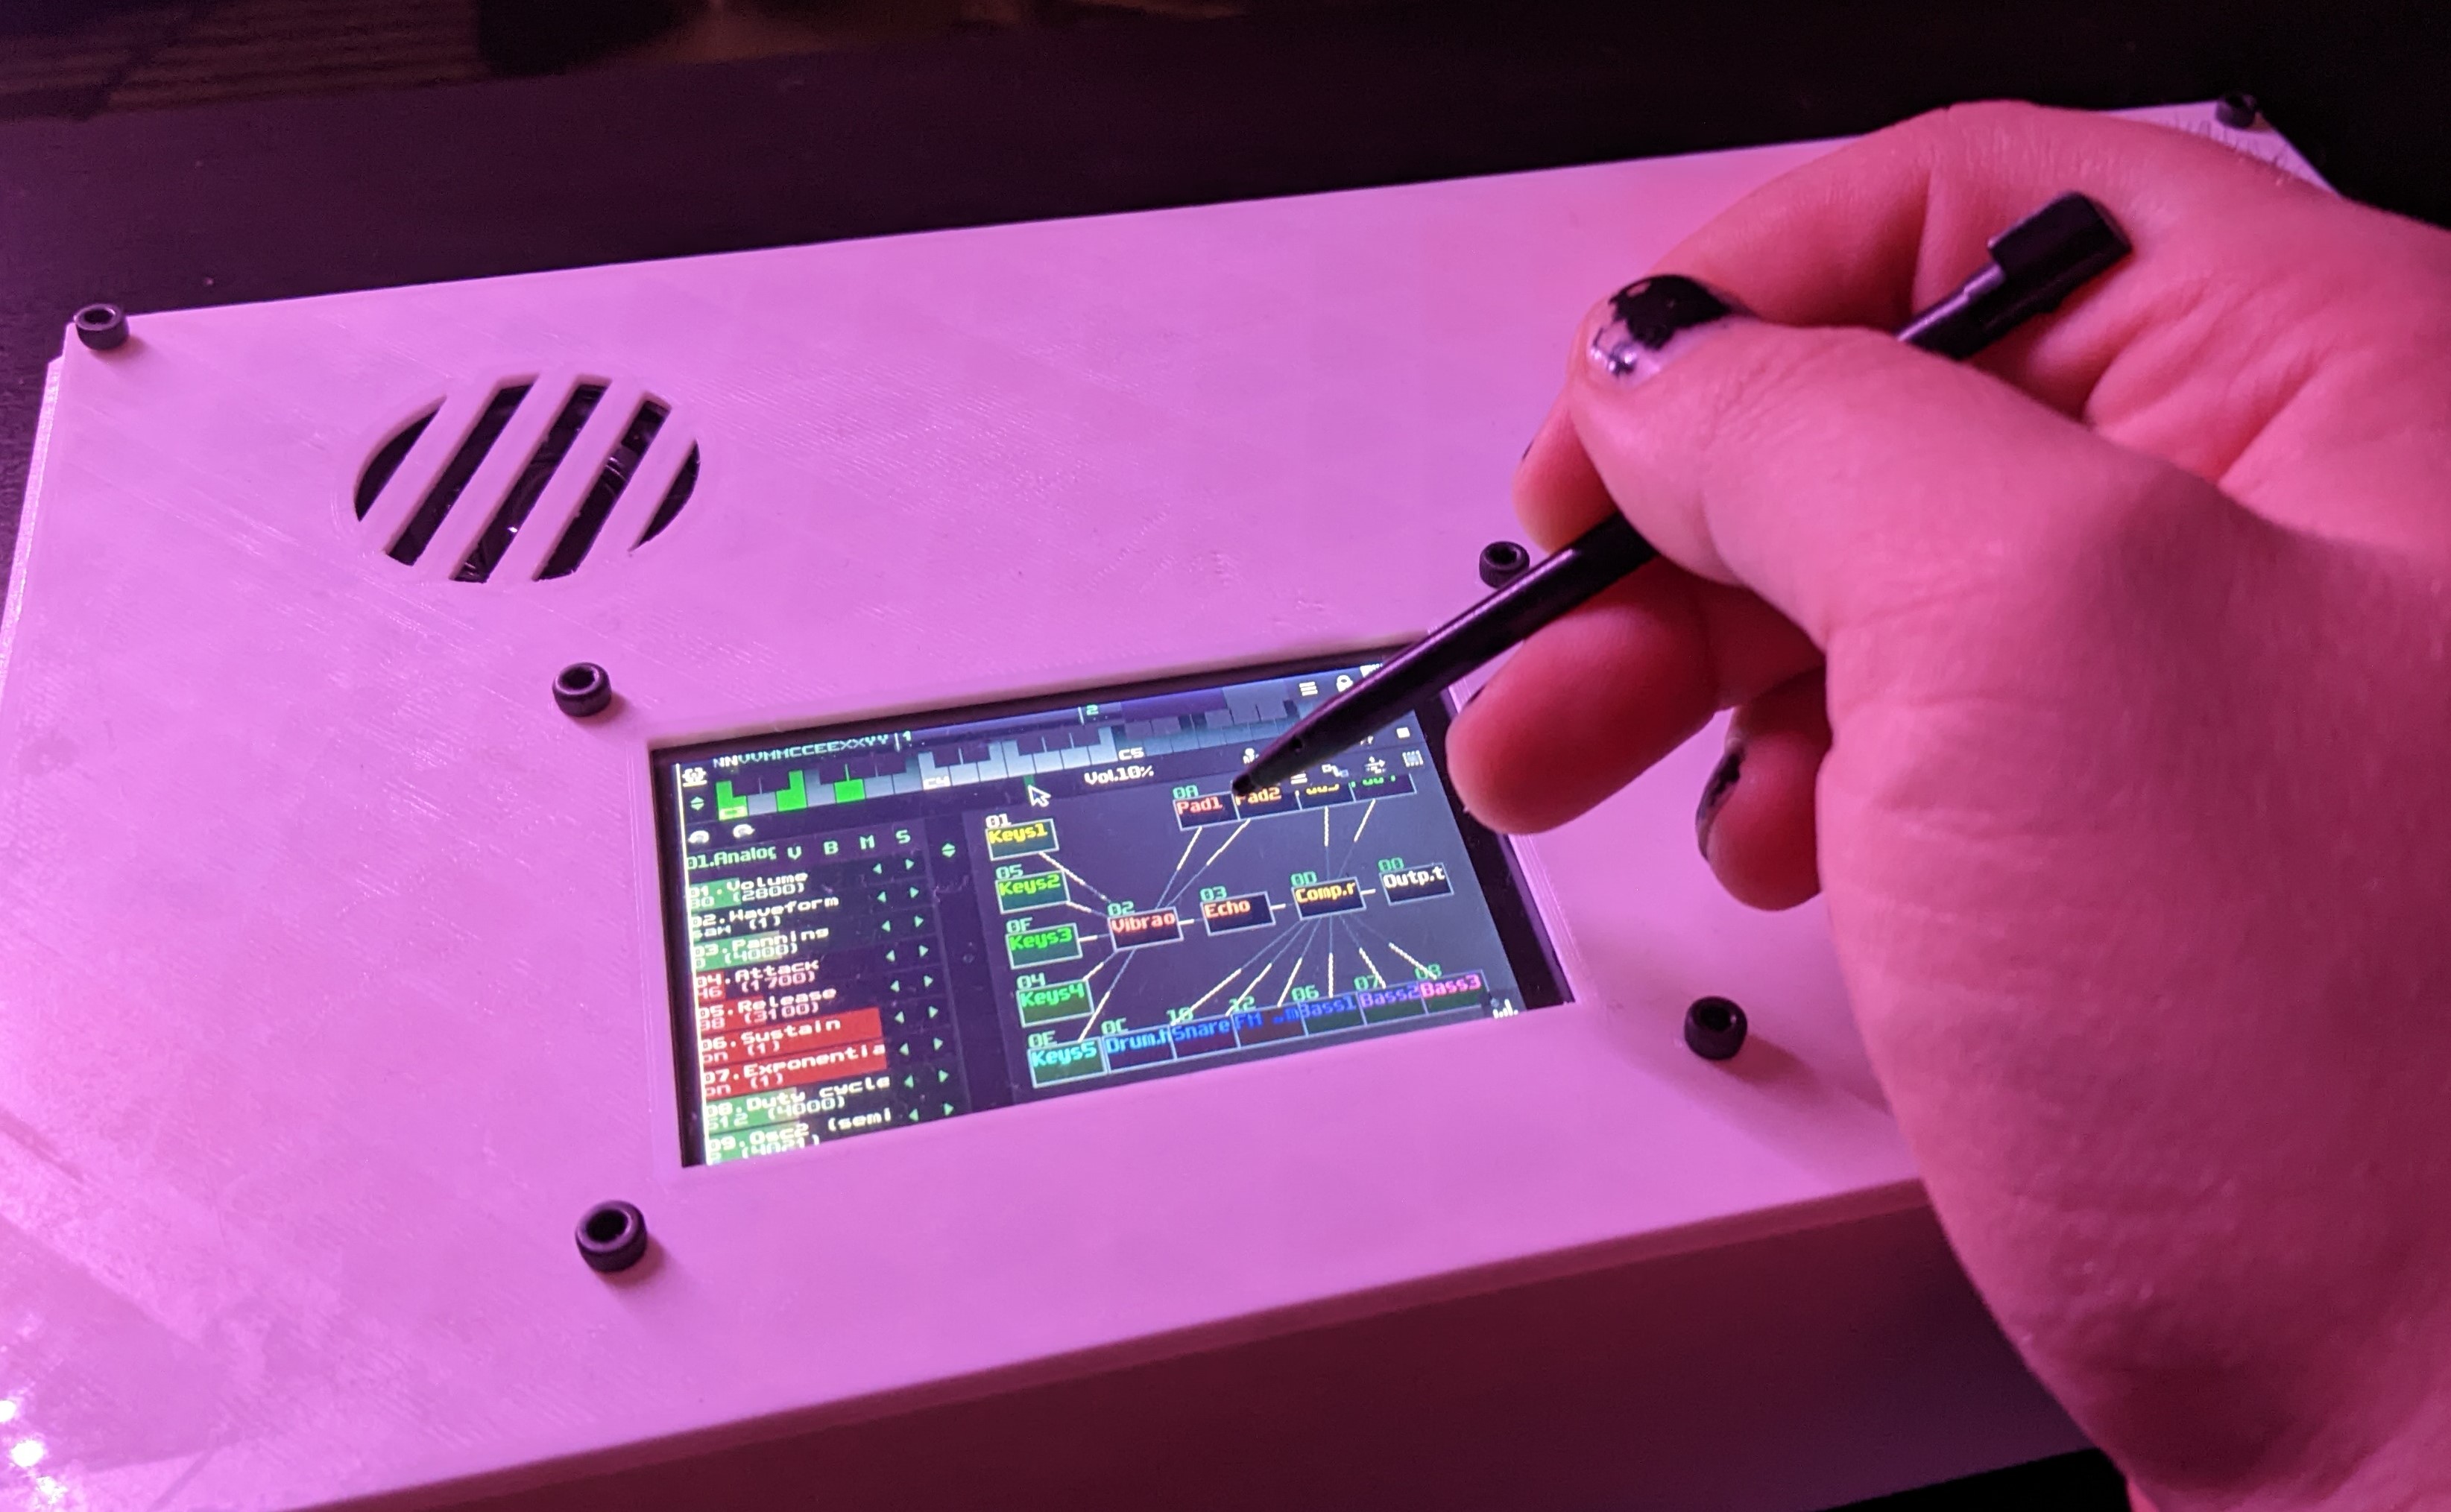
Heres a vid with the built-in speakers. They are a little tinny, but they can definitely get loud enough! Here they are at 11% volume.
Using the 1/4 in output jack, I can plug directly into my guitar amp and play with that. This would allow seamless performance or rehearsal with real instruments.
Thanks for reading.